Managing your company info
Your company info will be used within the invoices issued to you by Fireberry. Below you’ll learn which initial information will be automatically set, as well as how to find and edit your company info.
Initial company info
When you initially sign up for the Fireberry system, as well as when you process your first payment, you’ll be prompted to put in details. Some of these details will be immediately set as your company info. To instead learn how to update this info, see below.
Sign up details
In the first page of the Fireberry sign up process, which you can access here, you’ll be asked to set your basic information. The email address and phone number you set here will be used in your company info.
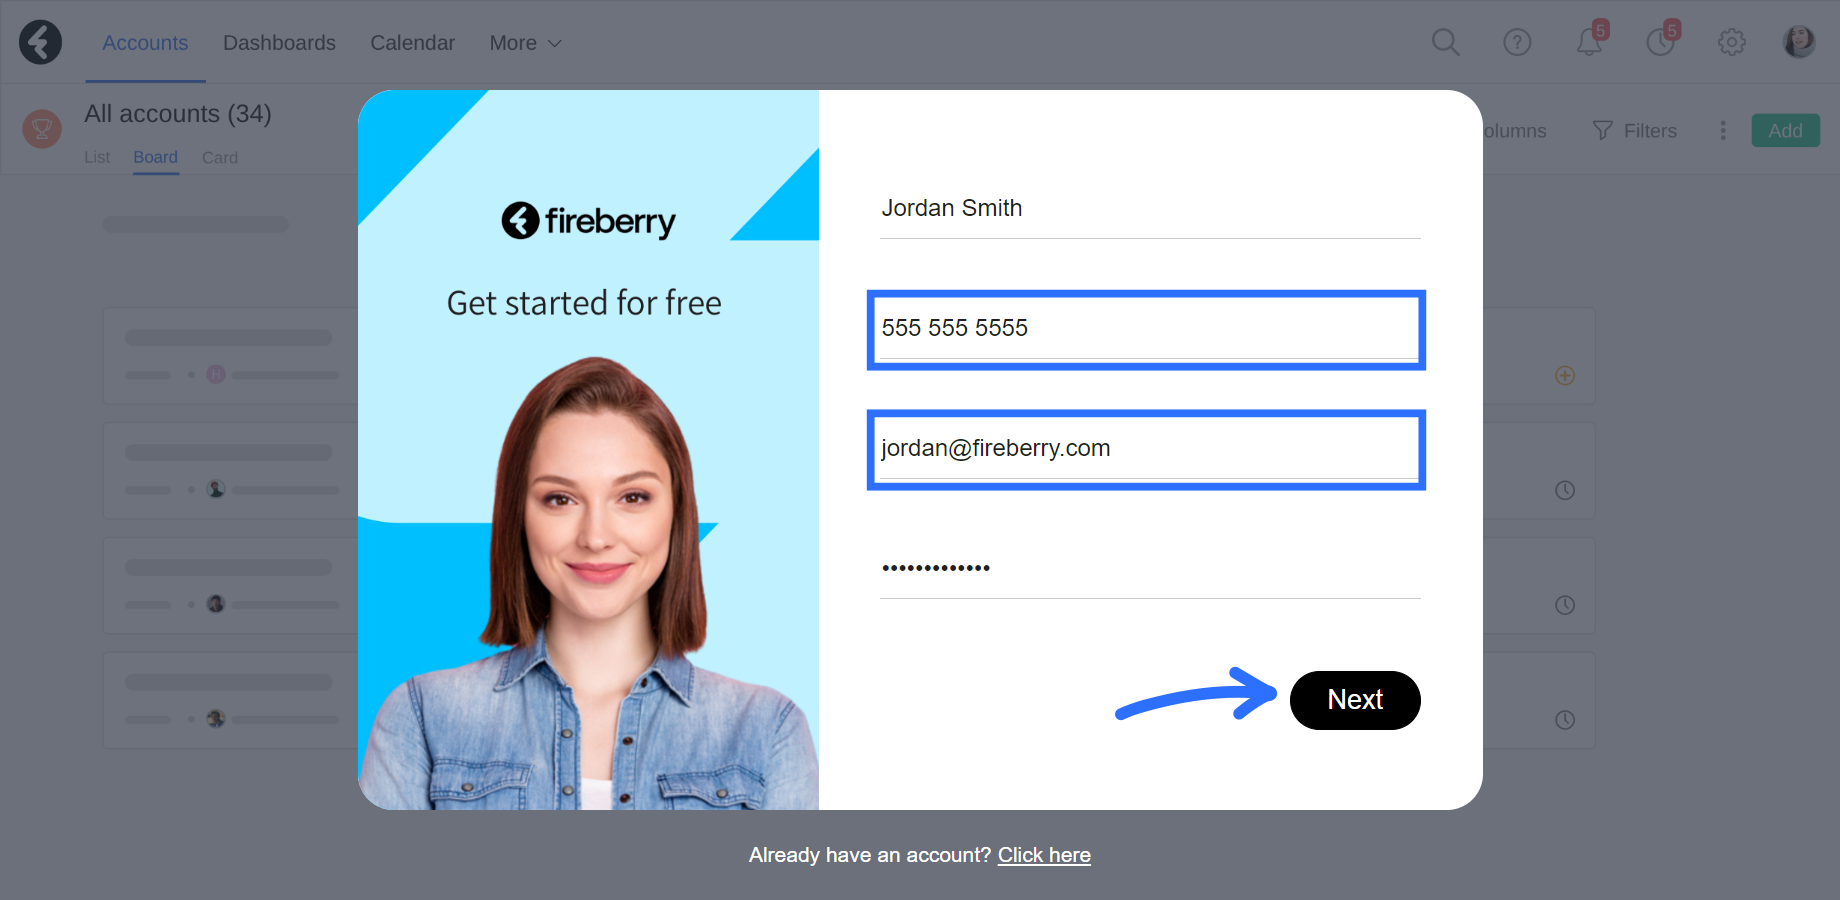
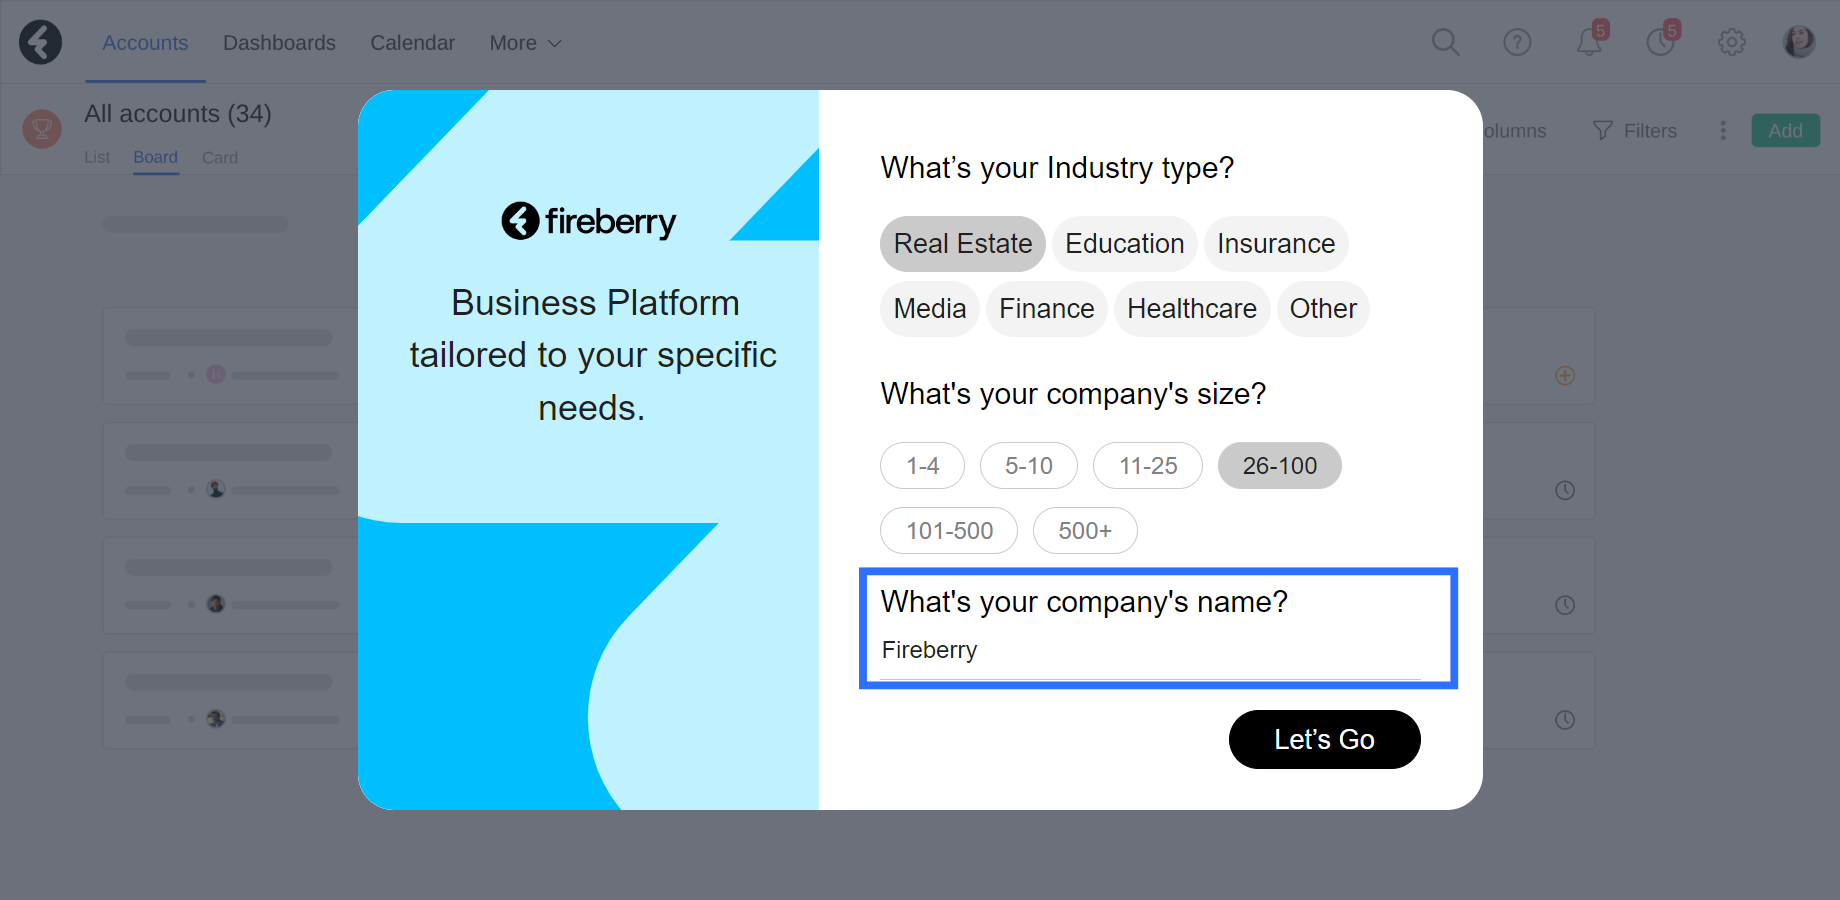
After clicking Next in the sign up, you’ll be brought to a page where you’ll set your company details. The company name you set here will also be used in your company info.
Once you’ve created your account, you can find your saved details in the company info page. To learn how to access and edit this page, see below.

Billing details
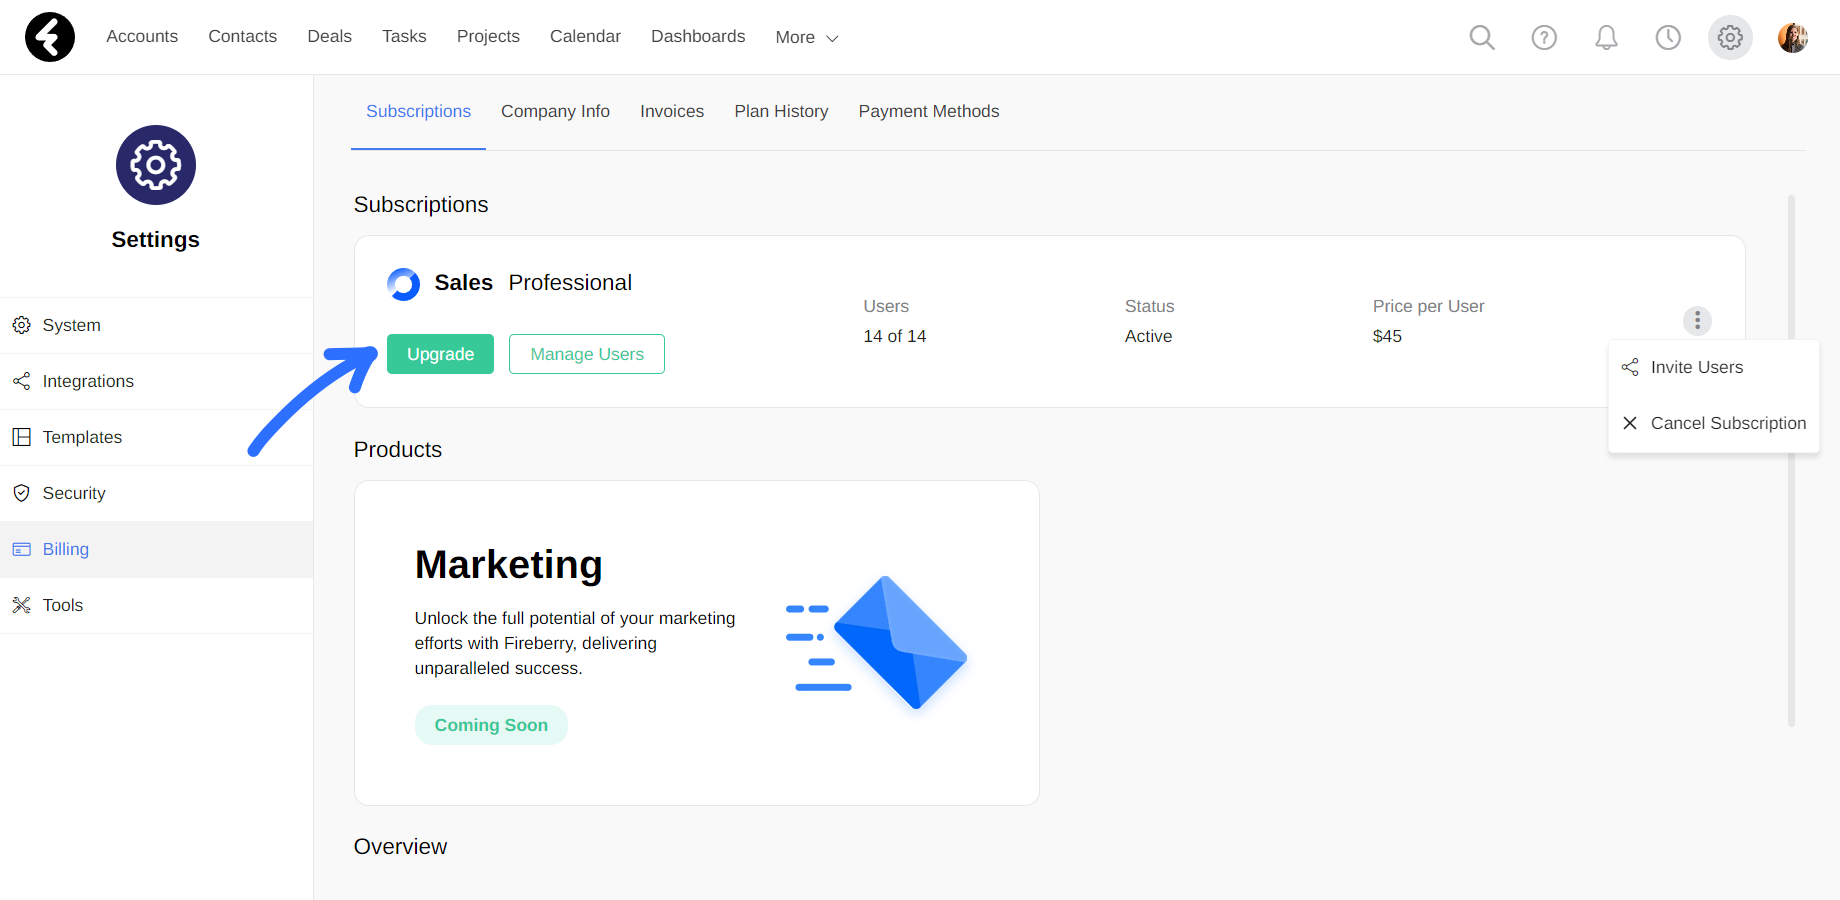
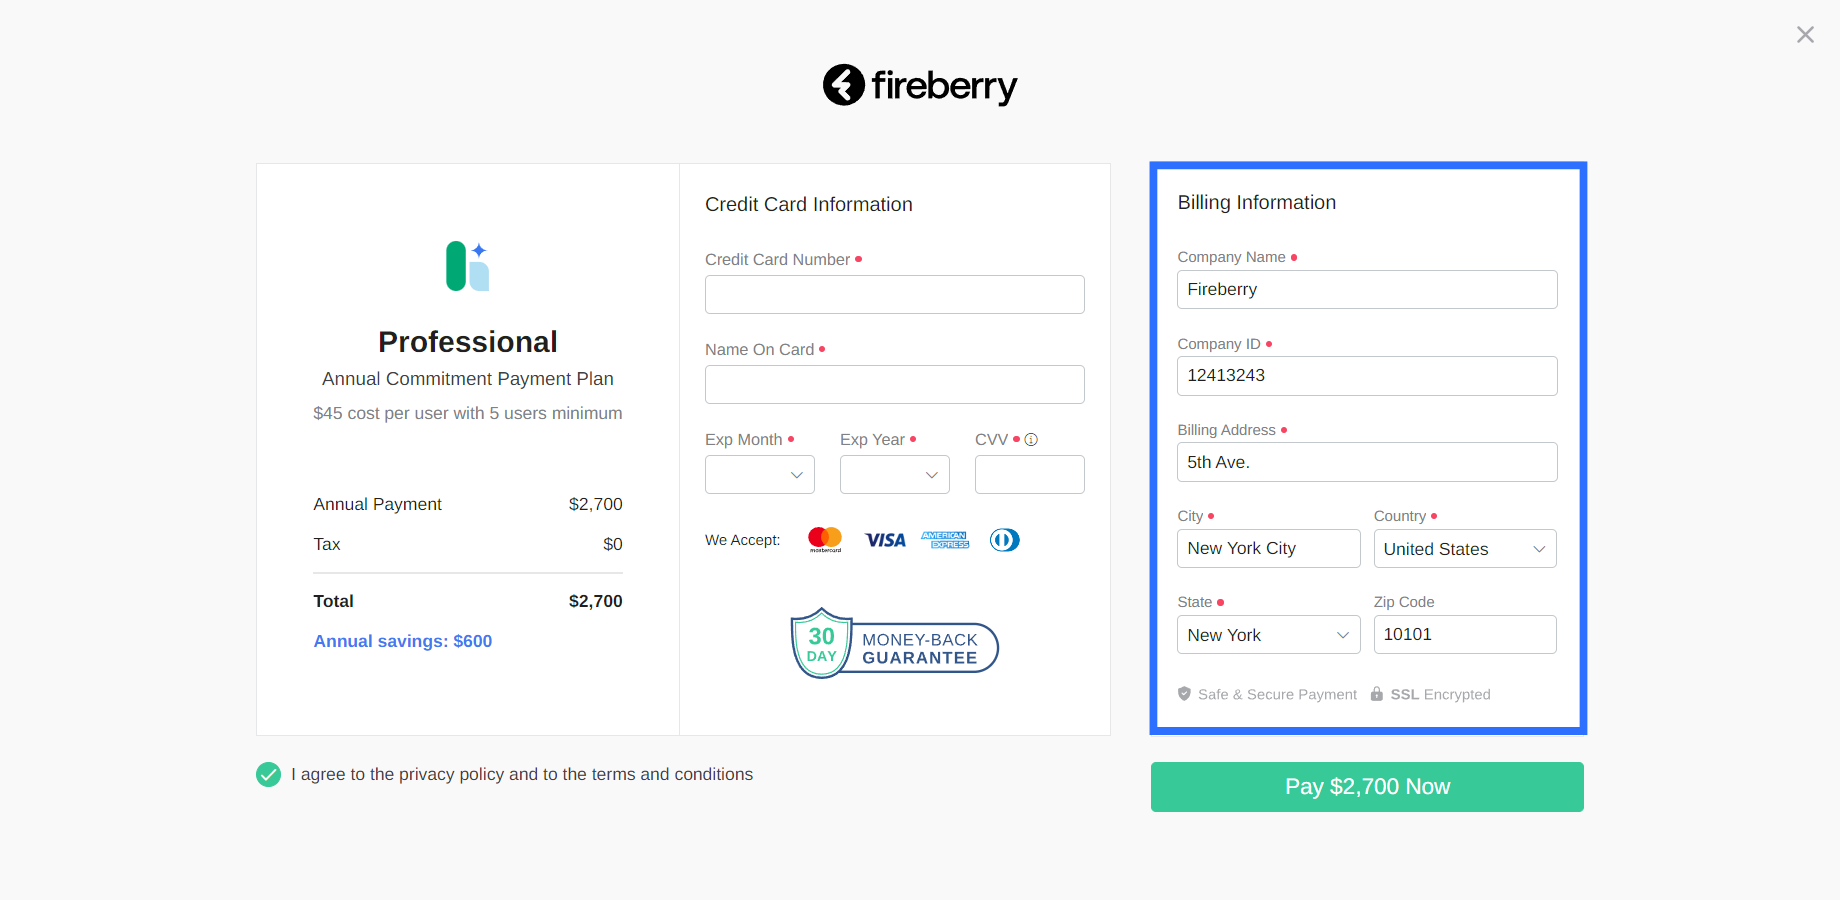
To upgrade your account you’ll use the billing page, which can be accessed by opening your settings, selecting the Billing tab, and then clicking the Upgrade button.
Within the billing page you’ll be prompted to fill in your credit card details and billing information. The details you set for the Company Name, Company ID, Billing Address, City, and Zip Code fields will be saved in your company info page. Additionally, if these fields were already saved in your company info page, they will be automatically filled in here.
Updating your company info
To view and edit your company info, start by clicking the settings gear on the top right of any system page. Next, make sure you’re open to the System tab, and then select the Company Info option from the top menu. Here you can see your company info. Like any other form in the system, you can edit the details here by hovering over a field and using the pencil icon. By clicking the checkmark, your information will be immediately updated and used in the next invoice processed by Fireberry. For example, if you update the company name field, your new company name will be used for any future invoices. If you update the email field, all your new invoices will be sent to your updated email address. Any changes made to the Email Address, Company Name, Company ID, Address, City, or Postal Code fields on this page will be immediately reflected within Fireberry and be used for your invoices.
Setting your company logo
At the top left of the screen you’ll see a circle logo. This logo initially starts off as the Fireberry logo, and can be easily updated to your company’s logo.
Updating the logo
To update this logo, click the settings gear at the top right of any system page, and then open the System tab. Here you can select the Company Logo option. By clicking the Change Logo button, you’ll be able to select a file from your computer and upload it as your new logo. The file must be an image and meet the size requirements. Once you’ve uploaded your new logo, you can crop it to the correct size. By clicking Crop, your new logo will be saved to the system. If you instead click Cancel, your logo will revert back to your previous logo. You can also use the Remove option at any time to remove your logo and set the logo to the default Fireberry logo.

Logo shortcuts
By clicking your company logo, you’ll open two lists. On the left you’ll find a history of all the records you’ve opened most recently. Each record will include the object type, followed by the name of the record. By clicking on a record here, you’ll open its page. On the right you’ll find any views you’ve marked as favorites, which you can click on to easily access. To learn more about favorite views, click here.