Importing data to Fireberry
By following a few simple steps, you can import data from an Excel or CSV file into the system. You can use the system to manage and record all the information about your accounts, contacts, sales, products, and in general any data you wish to use.
Fireberry allows you to track the import status of records. You can also track details such as when and who performed the import, how many records were imported, and more.
In this article, we will go over four simple steps which will help you import new data into the system.
Step 1 - Selecting the file to import
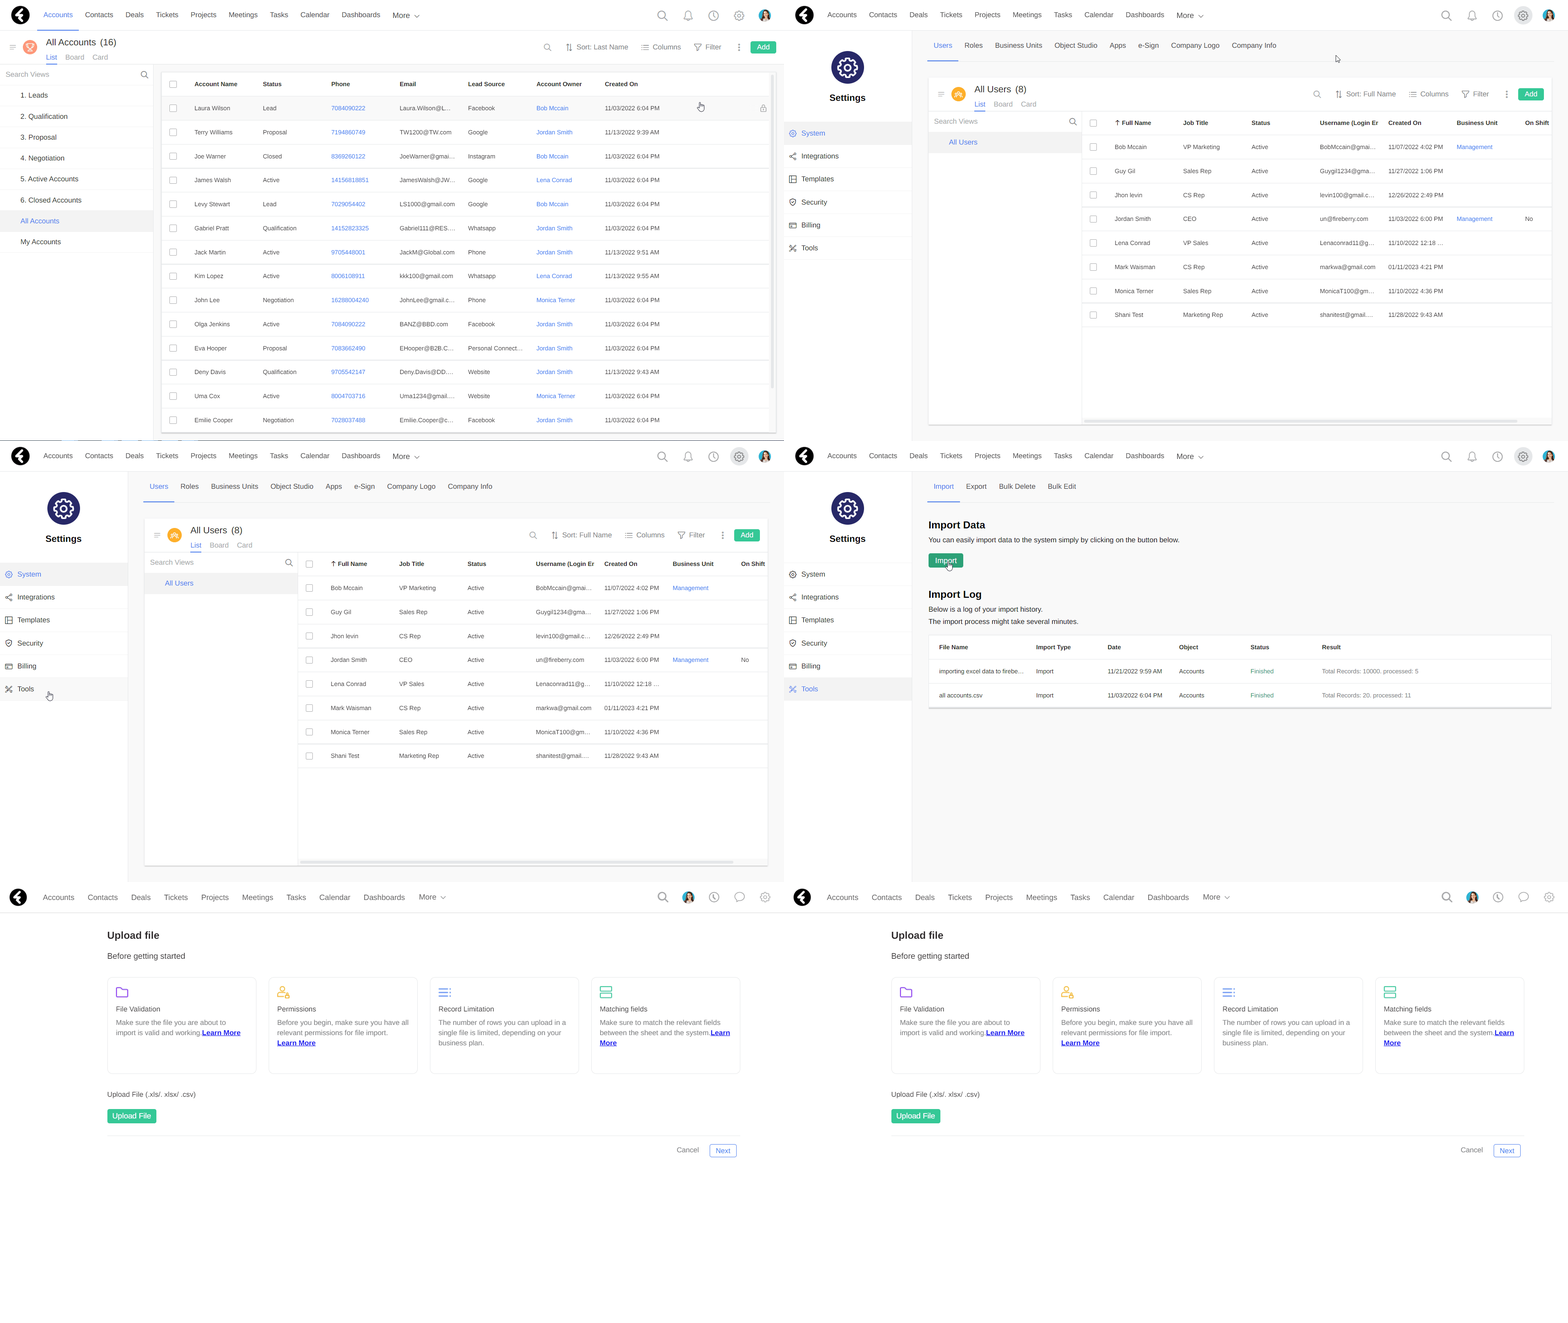
In order to import data from an Excel file, click the gear icon in the top right corner, then click the Tools menu, and finally click Import.

Click Upload File, select the file that you want to import (in CSV or Excel format), and then click Next.
.png)
Step 2 - Selecting the type of data
When the window opens, select the type of data you'd like to import.
.png)
You can import many object types within the system, such as Accounts, Products and more. Simply choose the desired object type from the drop down list and then click Next.
.png)
Step 3 - Selecting the import type
Using the system, you can import new records or update existing ones. This article focuses on importing new records into the system. Therefore, in this screen, choose the Import new records option. To learn how to update existing records, click here.
.png)
Step 4 - Field mapping
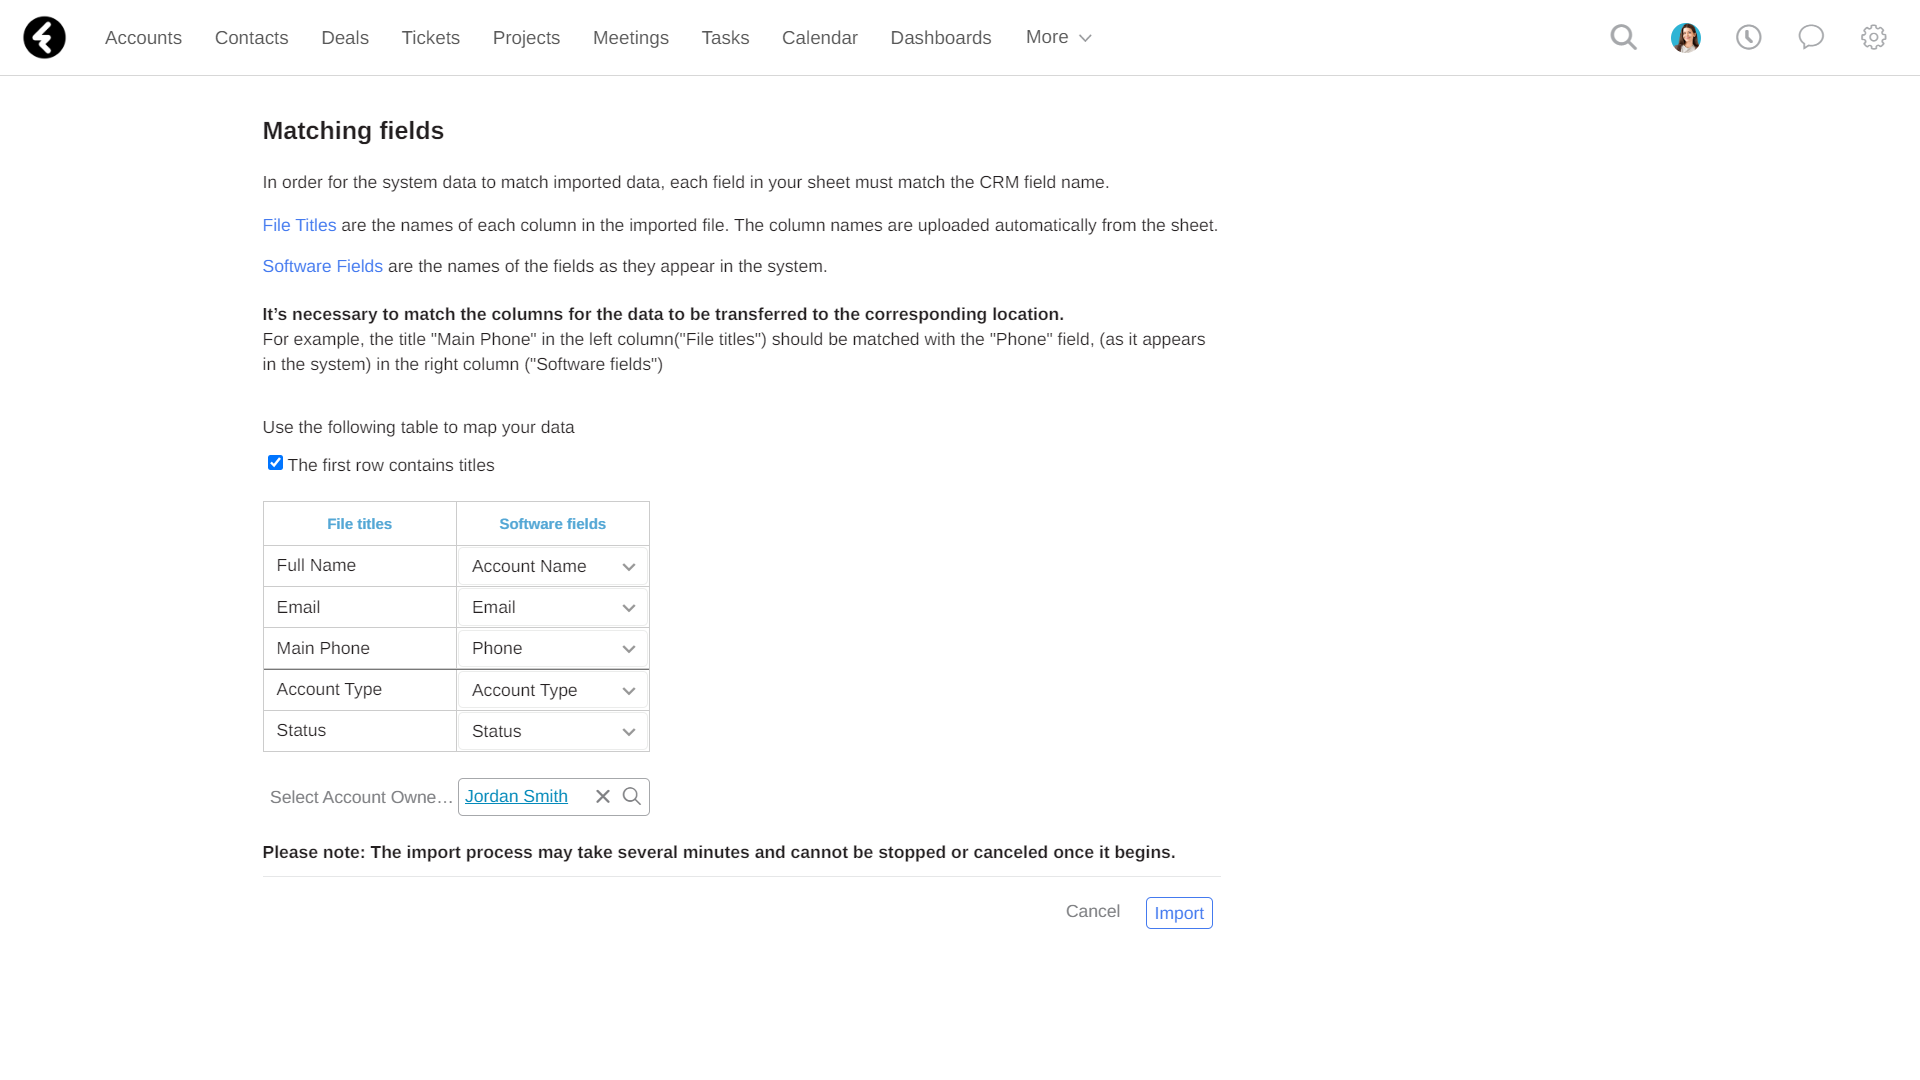
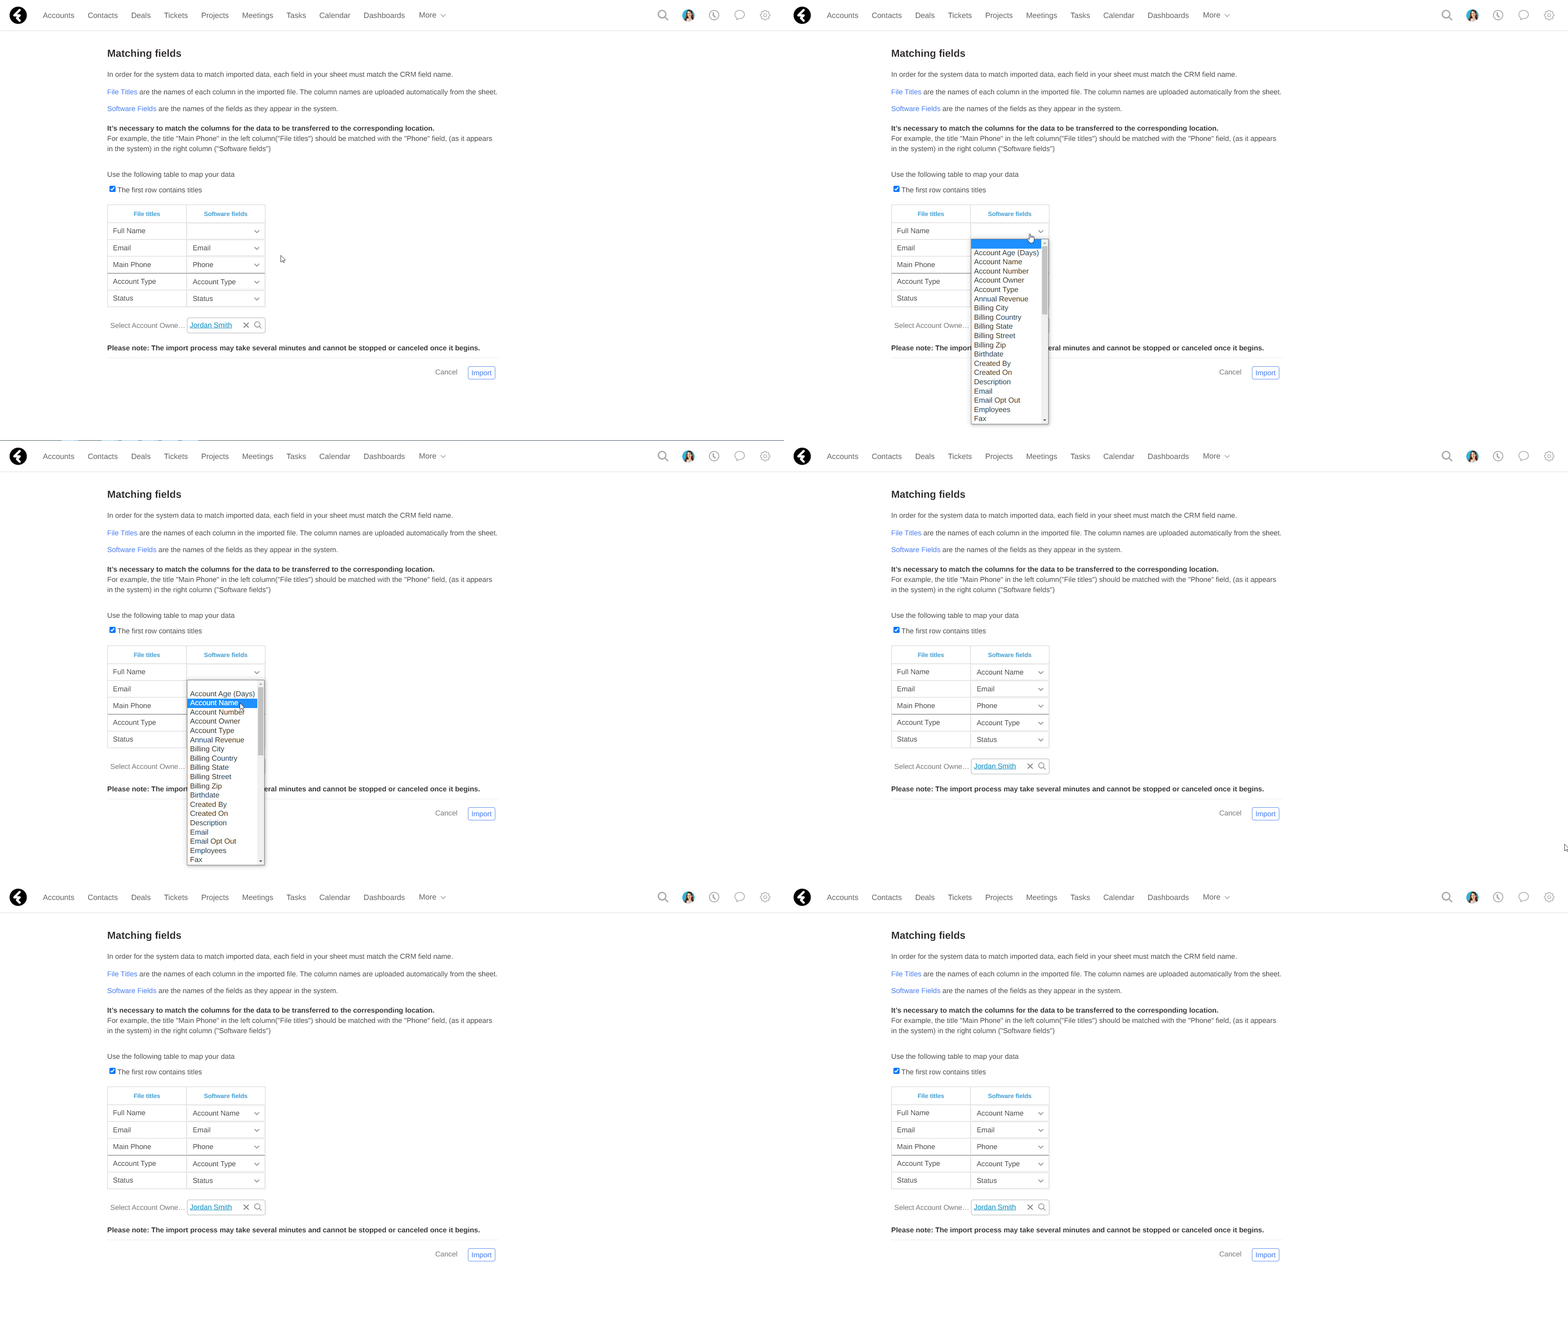
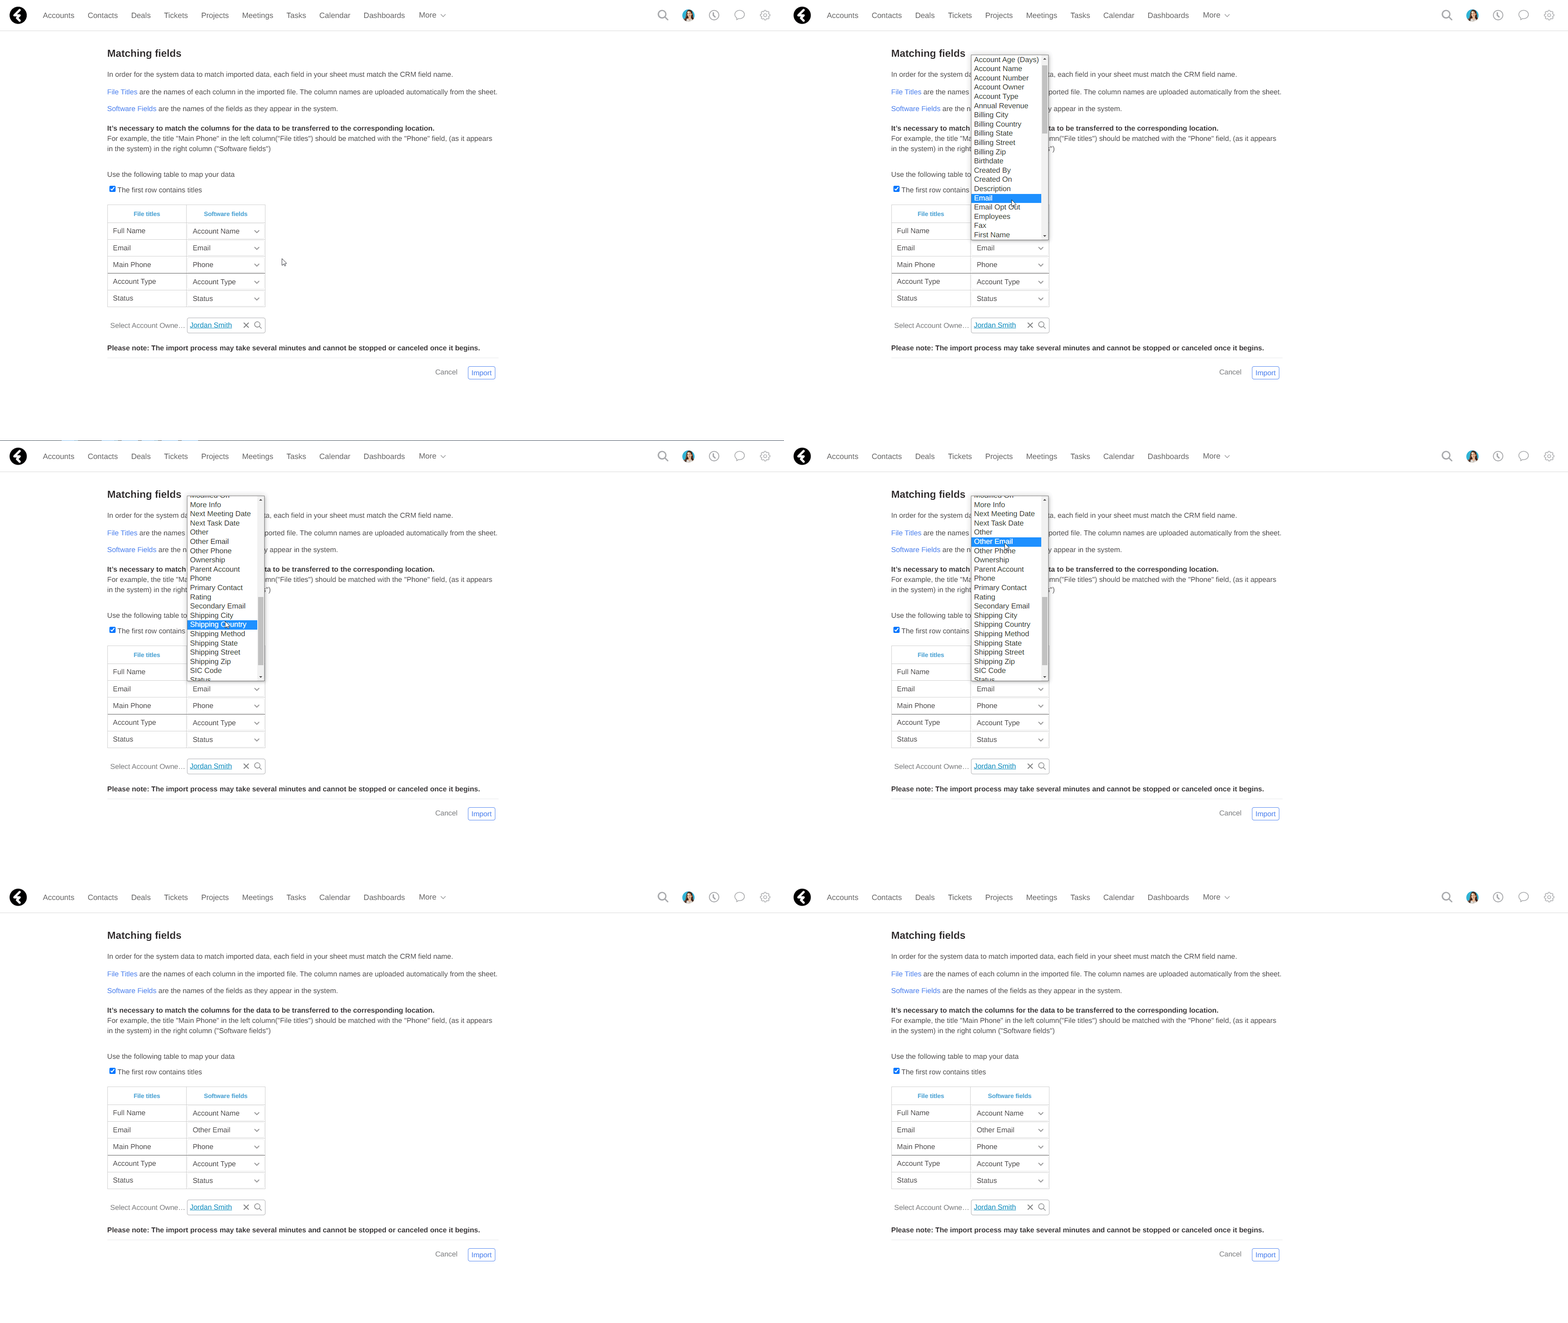
Using the Matching fields table you can set each column in your file to its respective system field. The File titles column represents the cells from the first row of your file, and will be generated automatically. The Software fields column contains drop down lists of the selected object’s changeable fields.

Match each header in your file to the system field you want to store the data in. For example, when importing a file of accounts to the system, match the header name that represents the account's name in your file to the system field "Account name" (or any other field where you want to record the account's name).

Learn more about file setup and system permissions for a successful import by clicking here.

The Select Account Owner option underneath the table is a lookup field. It will let you select a system user to assign all your newly imported records to.
To finish, click Import.
.png)
As soon as the import process begins, a new row will open in your import log. Here you can track the status and details of your log, such as the time of the import, who processed it, how many records were imported, and more.
Depending on the amount of data imported, the import process may take a few moments to complete. The import log provides you with the status of the process at any time.
Each log will have a Revert button next to it for 24 hours after it has been imported. By clicking Revert, you can undo the new import and thus delete any data which was added to your system.
.png)
It is possible that your import may fail or only partially succeed due to a number of reasons. To learn more click here.
.png)

