Connecting and using Aircall
By integrating your Fireberry system with Aircall, you’ll be able to seamlessly make, receive, and document all your calls. Learn how to connect Aircall to your account and about the different fields used to import call data.
Connecting to Aircall
To start, click the settings gear on the top right of any system page, and then open the Integrations tab. From the top bar, select the Aircall option and then click Connect. This will open Aircall’s credential page.
Signing in and authorizing
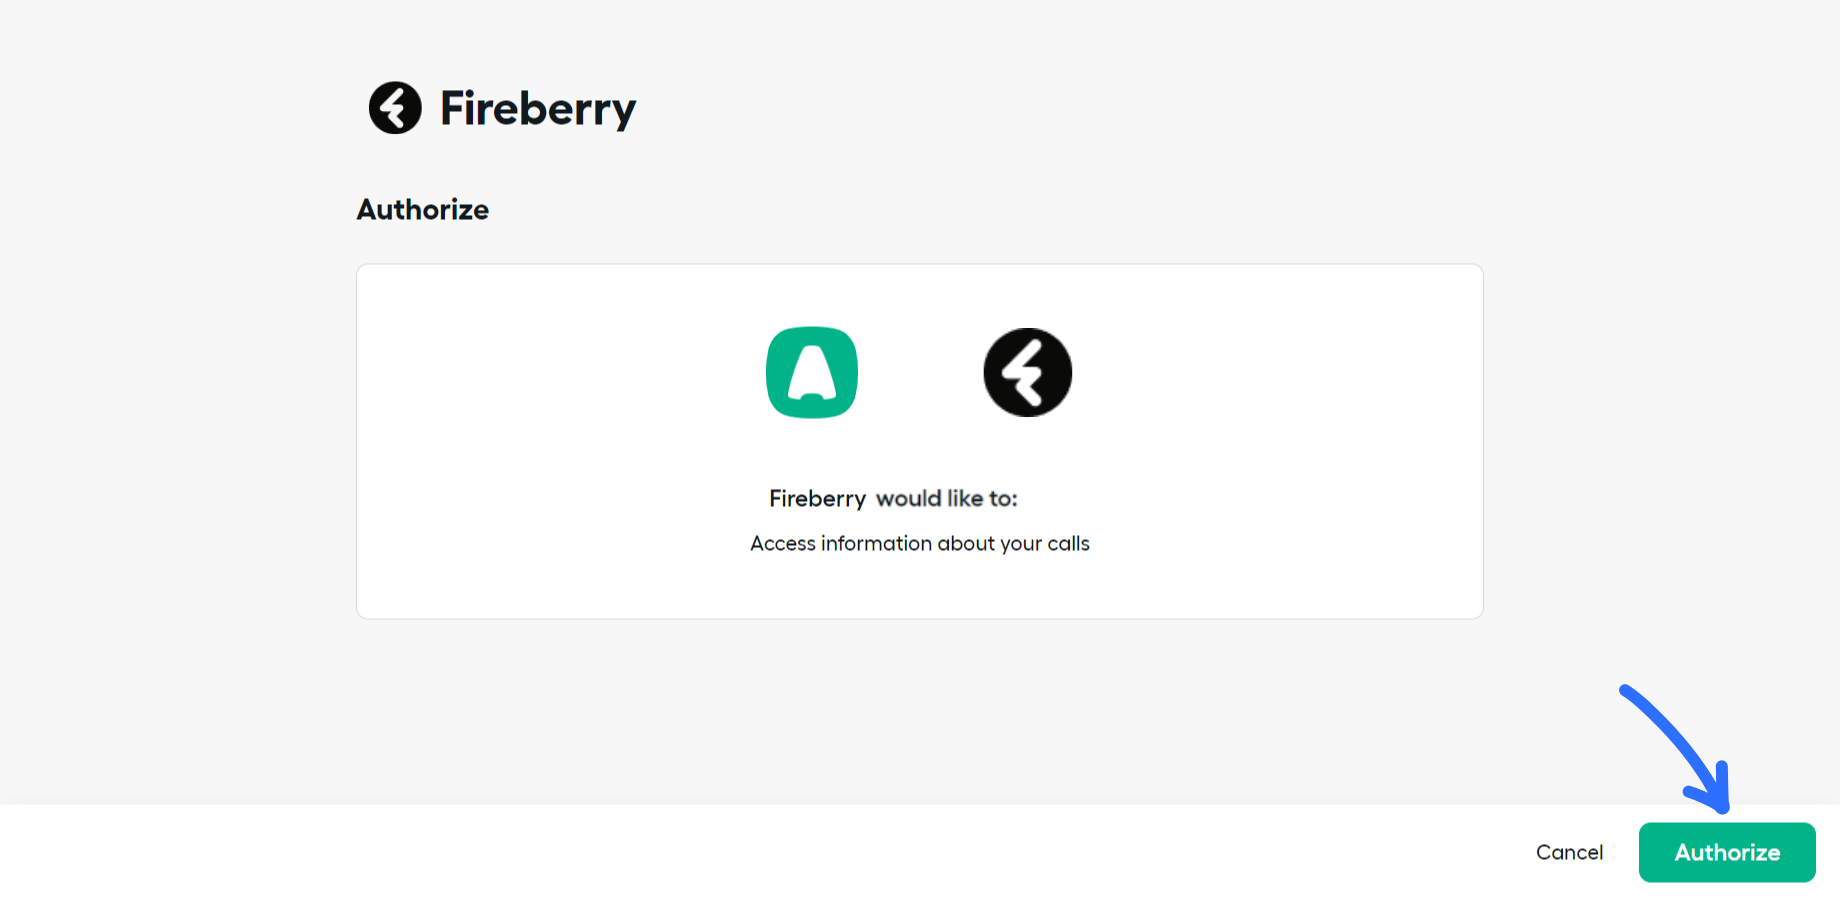
Here you can sign into your Aircall account by entering your credentials. You can use your username and password, or sign in via Google or SSO. Once you’ve logged in, You’ll be asked to authorize Aircall. Click Authorize in the bottom right corner to allow Aircall access to your Fireberry data. In this way Aircall will be able to exchange data with your Fireberry account.
Selecting numbers
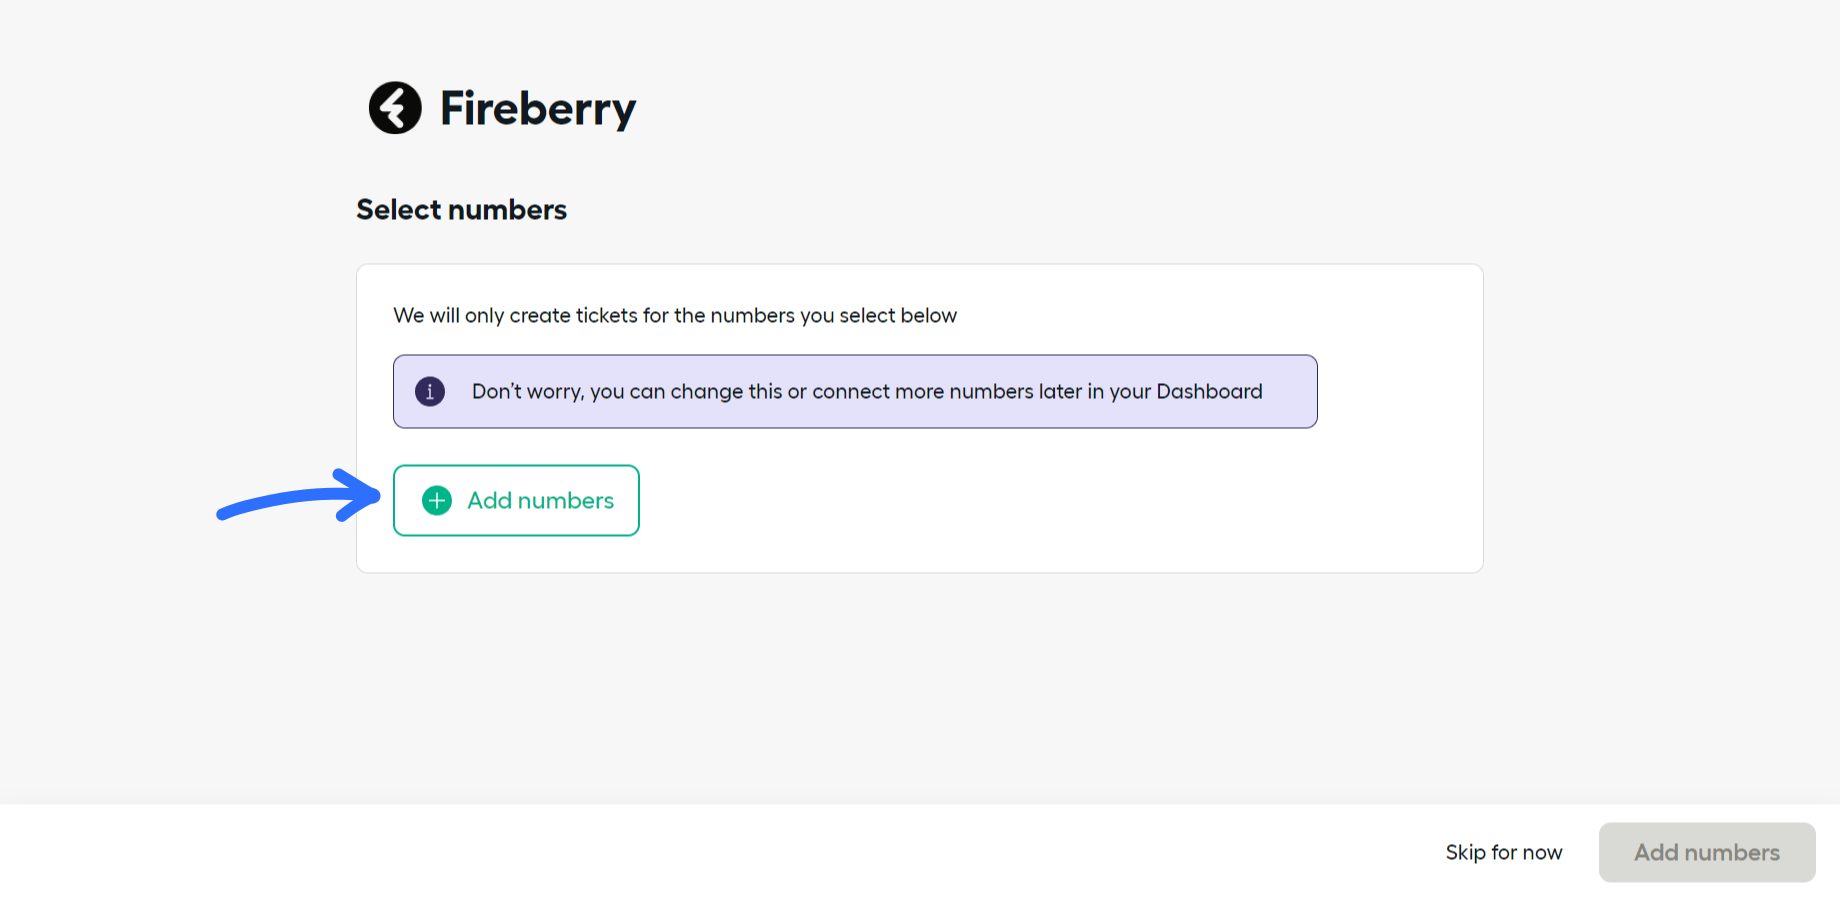
You can now choose which of your connected Aircall numbers you’d like to integrate with your Fireberry account. By connecting a phone number, all incoming and outgoing calls with the selected phone number will be documented as call records in your Fireberry system. Below you can learn more about integrated call records and fields. To select phone numbers, click the + Add Numbers button.
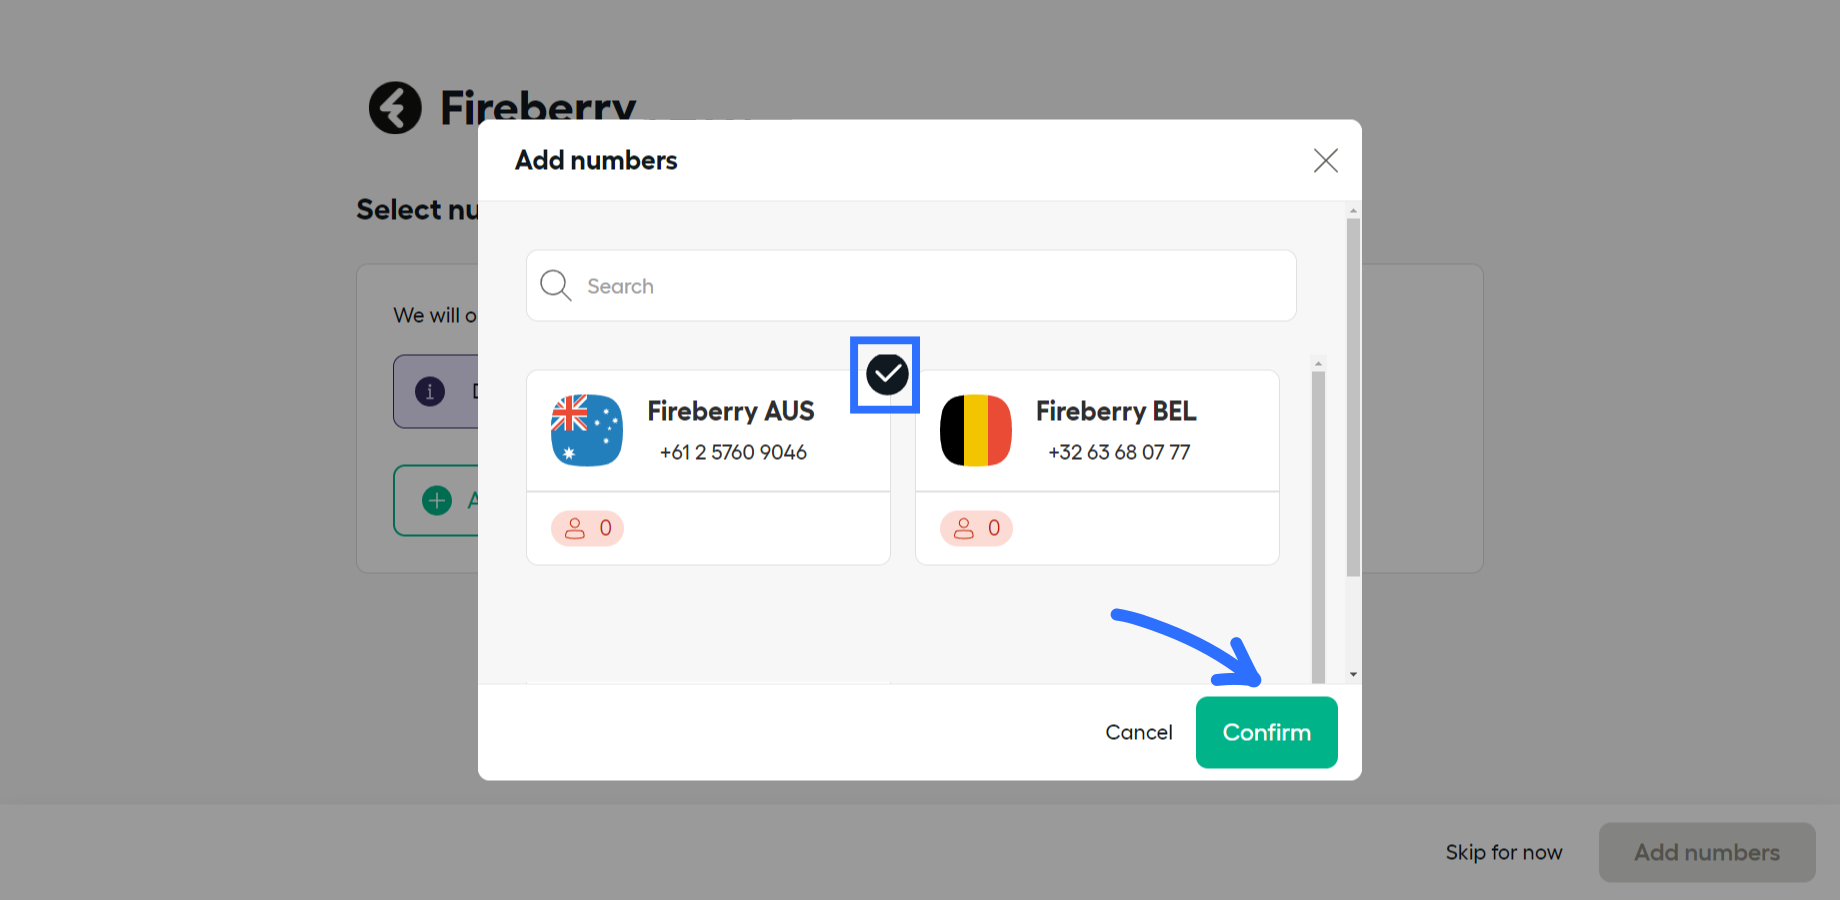
A pop-up will open with all the phone numbers attached to your Aircall account. By clicking a number, a check will appear on its top right confirming you’ve selected it. To deselect a number, simply click it again. You can also use the search bar at the top to search for the name or number of a specific phone line. Once you’ve selected all the numbers you’d like to connect, click Confirm on the bottom right.
The pop-up will close and the numbers you selected will now appear on the main page. You can remove any numbers by clicking the three dots next to them and selecting Remove number, or you can click + Add Number again to add more numbers. Once you’ve selected all the relevant numbers, click the green Add Numbers button at the bottom of your page to finish the integration process. If you instead click Skip for now, the integration will be processed but no phone numbers will be connected to Fireberry.
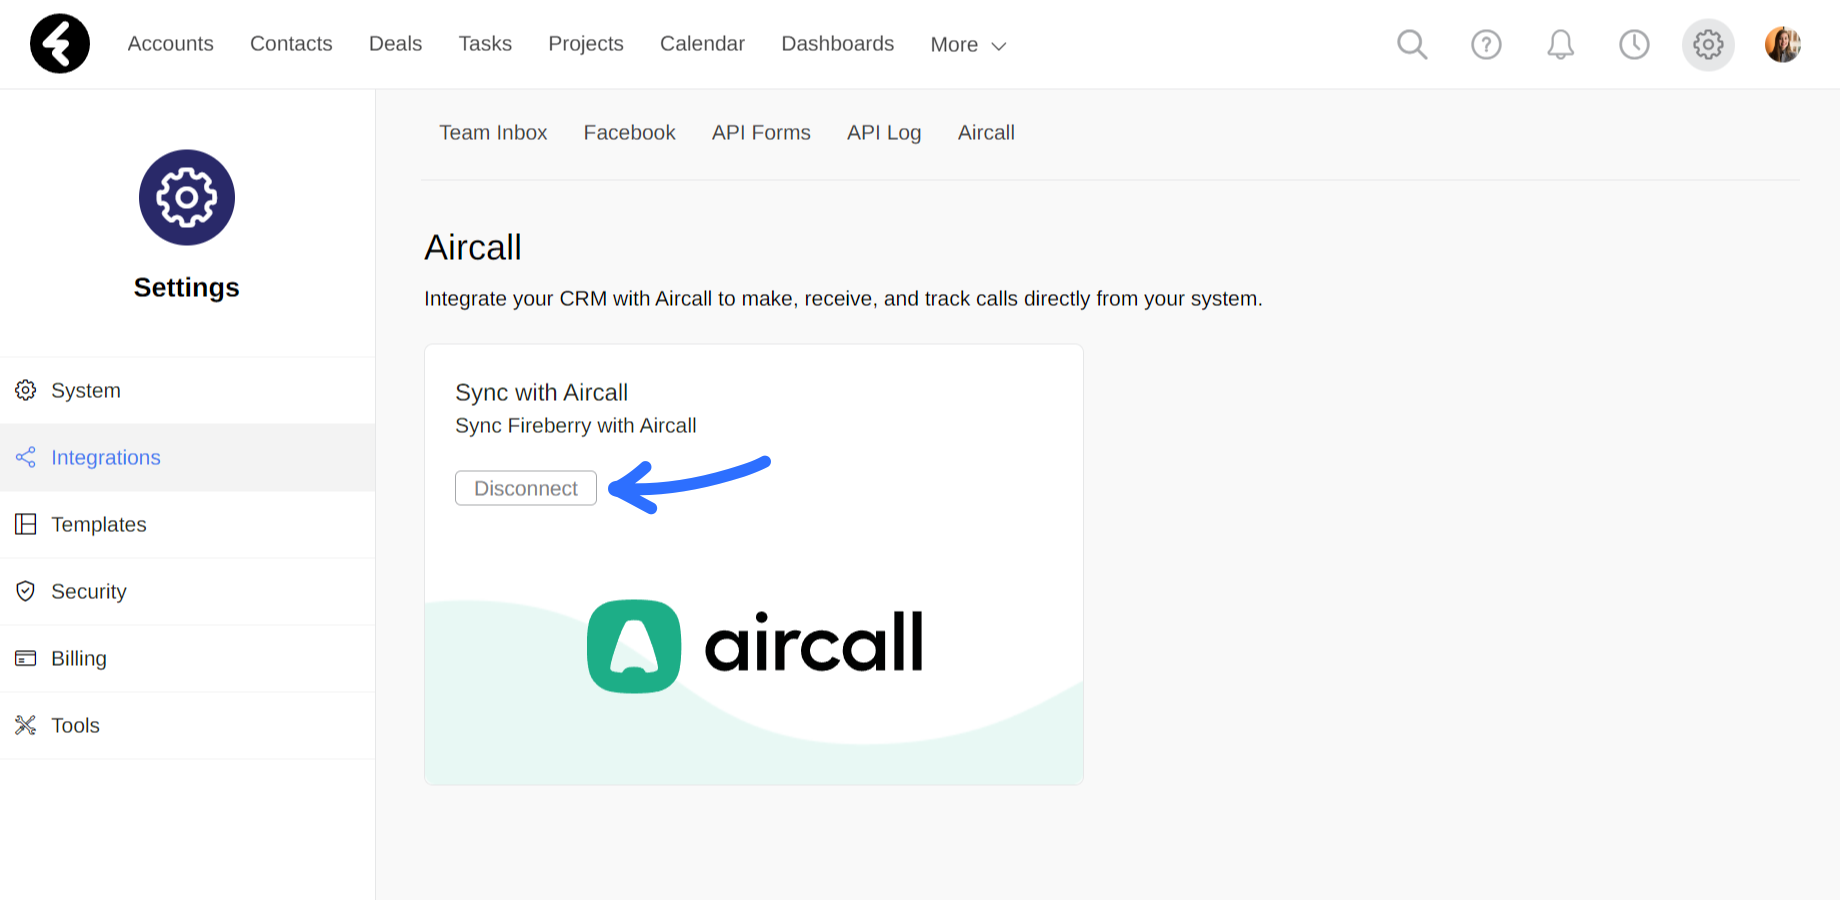
Disconnecting
After completing the integration process, you’ll be brought back to the Fireberry Aircall integrations page. Here you can make sure your connection has gone smoothly by checking that the Connect button now reads Disconnect instead. You can of course click this button to disconnect your Fireberry account from Aircall at any point. By disconnecting your account, your phone calls will no longer be tracked and added to the system as call records. Your existing call records will of course remain in your system.
Connecting users
Once you’ve integrated your Aircall account with Fireberry, it’s important to check that the email addresses you have set for your users within Fireberry and your users within Aircall correspond. This will ensure that the Rep. field, explained below, will automatically be set to the relevant Fireberry system user who made or received the call. Additionally, you can confirm that the extension field set for your users in Aircall corresponds with their Fireberry profile’s Sipid field. This will ensure that the user’s extension will be automatically included in the call record.
To start, go to your Aircall dashboard and open the Users section, which you can do by clicking here. Next, open up a specific user. Under the general tab, you can go to the Account credentials section to check this user’s E-mail field. You can also check for their Extension under their Profile Settings.
.png)
You can now go back to your Fireberry account and click the settings gear from any system page. Next, open the System tab and click Users. Here you'll find a list of all the users in your system. Select the user who’s details you checked in Aircall to open their page. Check the email address set in the Email field corresponds with the email which was set in Aircall. While it’s possible the name of this field has been changed, its api name will always be emailaddress1. You can learn more about the different email fields in user profiles here. Next check that the SIpid field of this user matches the extension set in their Aircall profile. Now Fireberry will be able to set this user as the owner of all the call records which they've made or received, and set their extension.
.png)
Click to dial
One of the most useful features of integrating Aircall is the click to dial functionality. This functionality lets you click on any phone number in the system in order to automatically open it in the dialer of your Aircall app. For example, you can open a view with all your missed phone calls and easily click to call them back. You can also call any contact or account quickly via Aircall by clicking their phone number.
Phone call records
By integrating your system with Aircall, your phone call data will be automatically uploaded into the phone calls object. For each call you make or receive via Aircall, a call record will be created in your Fireberry system. Below you’ll find a list of the fields in the phone calls object, and of which data is held in each field.